👋 Hey All,
Today I'm going to show you how to deploy a react application with a service called Netlify. This method is completely free and allows you to automatically publish your web app by committing to your GitHub repo.
Lets get started!
Create A Netlify Account
Firstly, head over to Netlify's website and create a free account following their directions.
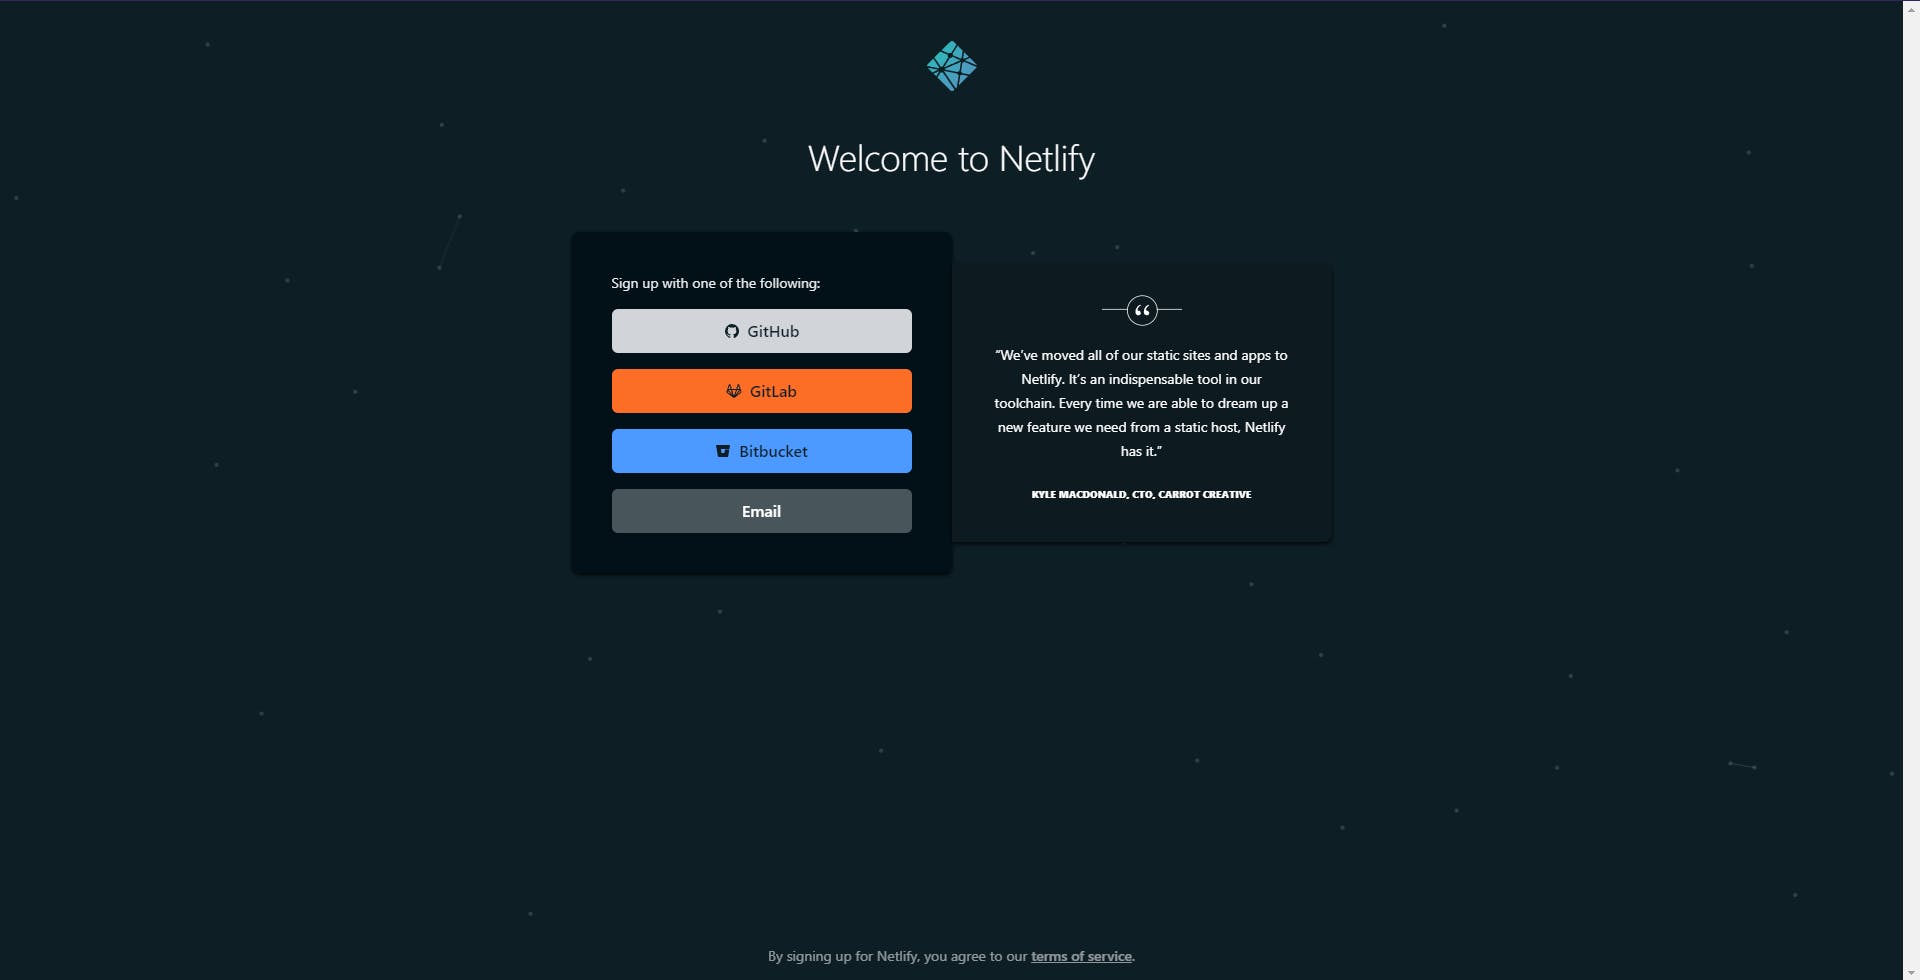
Image: Netlify's sign up page
Import Project From Git
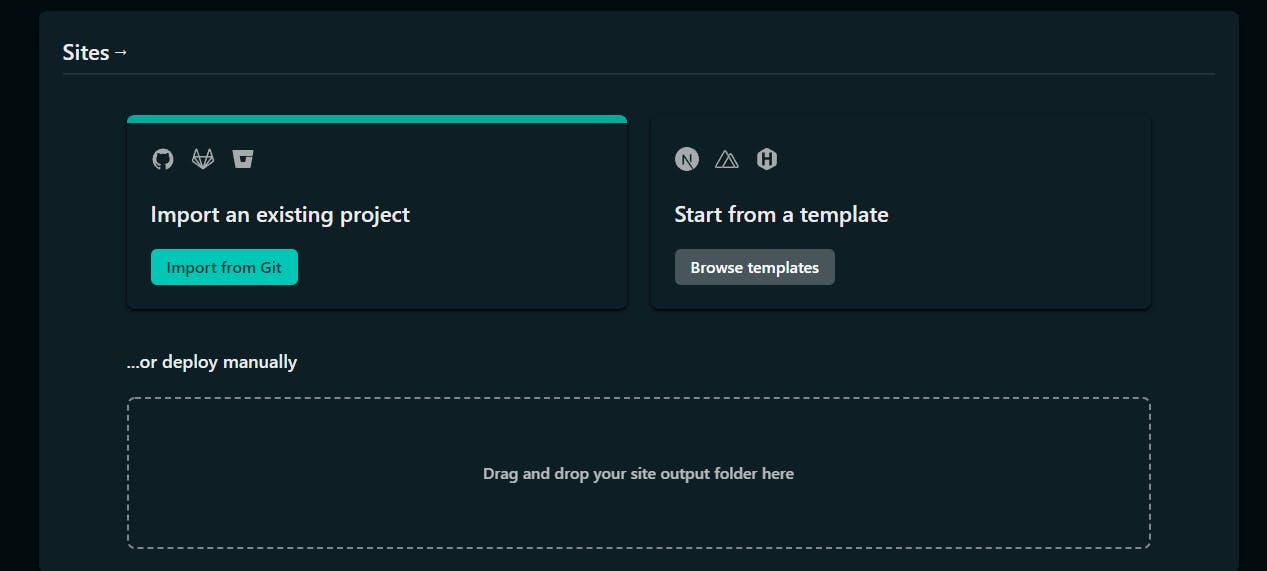
Click on the Import from Git button under the "sites" heading on the overview page:
Connect To GitHub
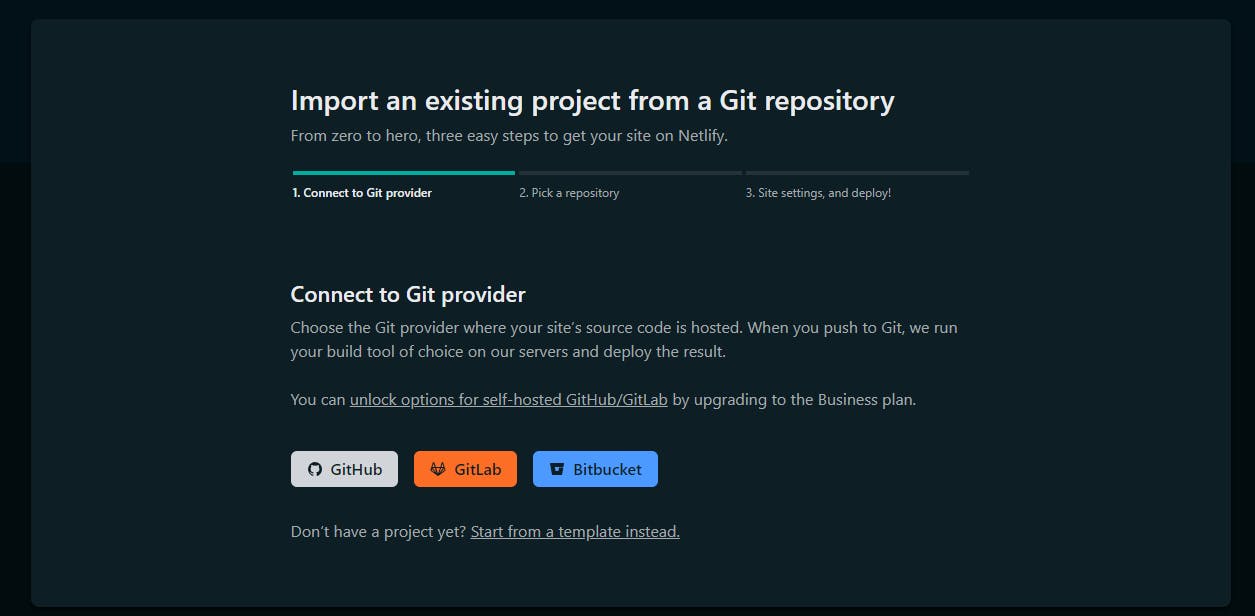
Then, connect to GitHub by clicking on the "GitHub" option:
Pick your repository
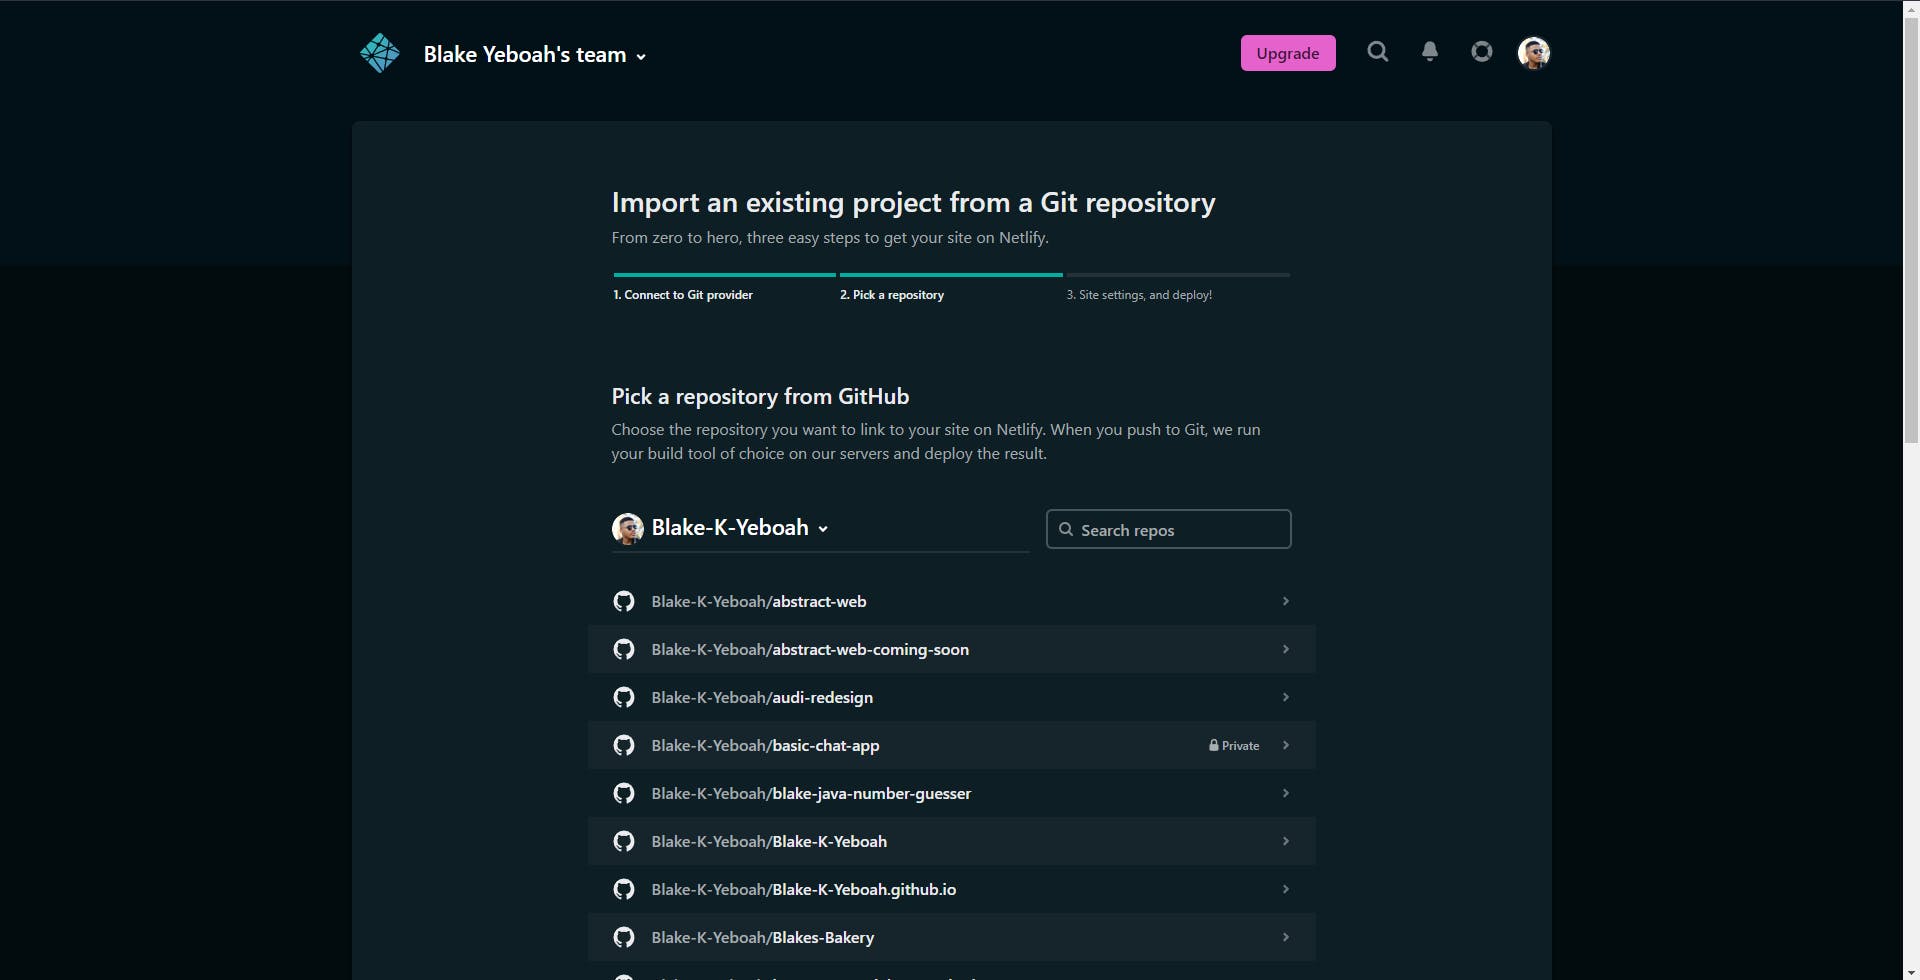
Pick the project repository you wish to deploy:
Configure Build Settings
Before clicking deploy, make sure that your settings are correct under the Basic build settings header:
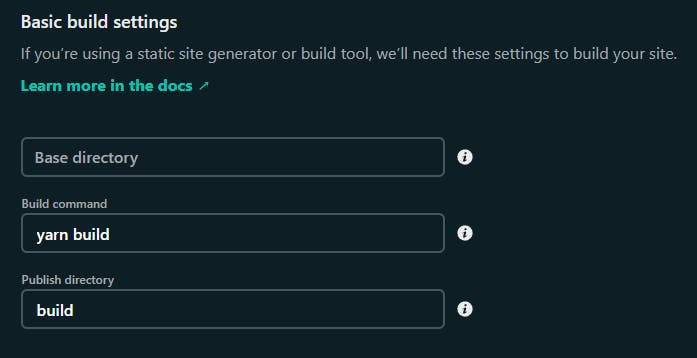
Make sure the build command is set to yarn build or npm build.
Make sure the publish directory is set to build.
I believe Netlify automatically detects a React app and configures these settings for you but check to be safe 😀
Deploy site
Click on the Deploy Site button and your react app will start building and then be deployed.

The site will be deployed on a weird domain name ending with .netlify.app. You can change the site name in site settings which will also adjust the domain for you.
Benefits Of This Method
By deploying your react app on Netlify, you:
Get automatic deploys from your GitHub repo
Get a free SSL certificate that is automatically setup
Can connect your custom domain to your application (topic for another article)
Get access to cool features like forms (for handling form submissions), identity (authentication), analytics (paid unfortunately) and many more 😀
Take Away
In this article, you've learned how to deploy your React application to Netlify for free.

👌 Thanks for reading this article!
If you like what I do and would love to see more related content, follow me on my other social platforms:
GitHub: Blake-K-Yeboah
LinkedIn: Blake Yeboah
Twitter: Blake Yeboah
You can also show your support by buying me a coffee 😃


